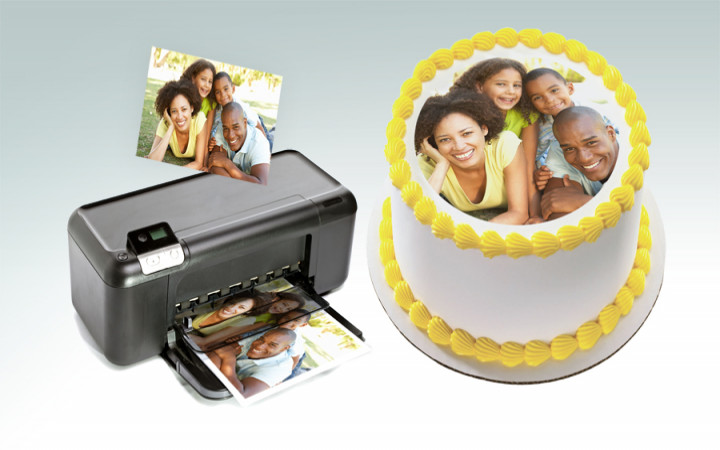
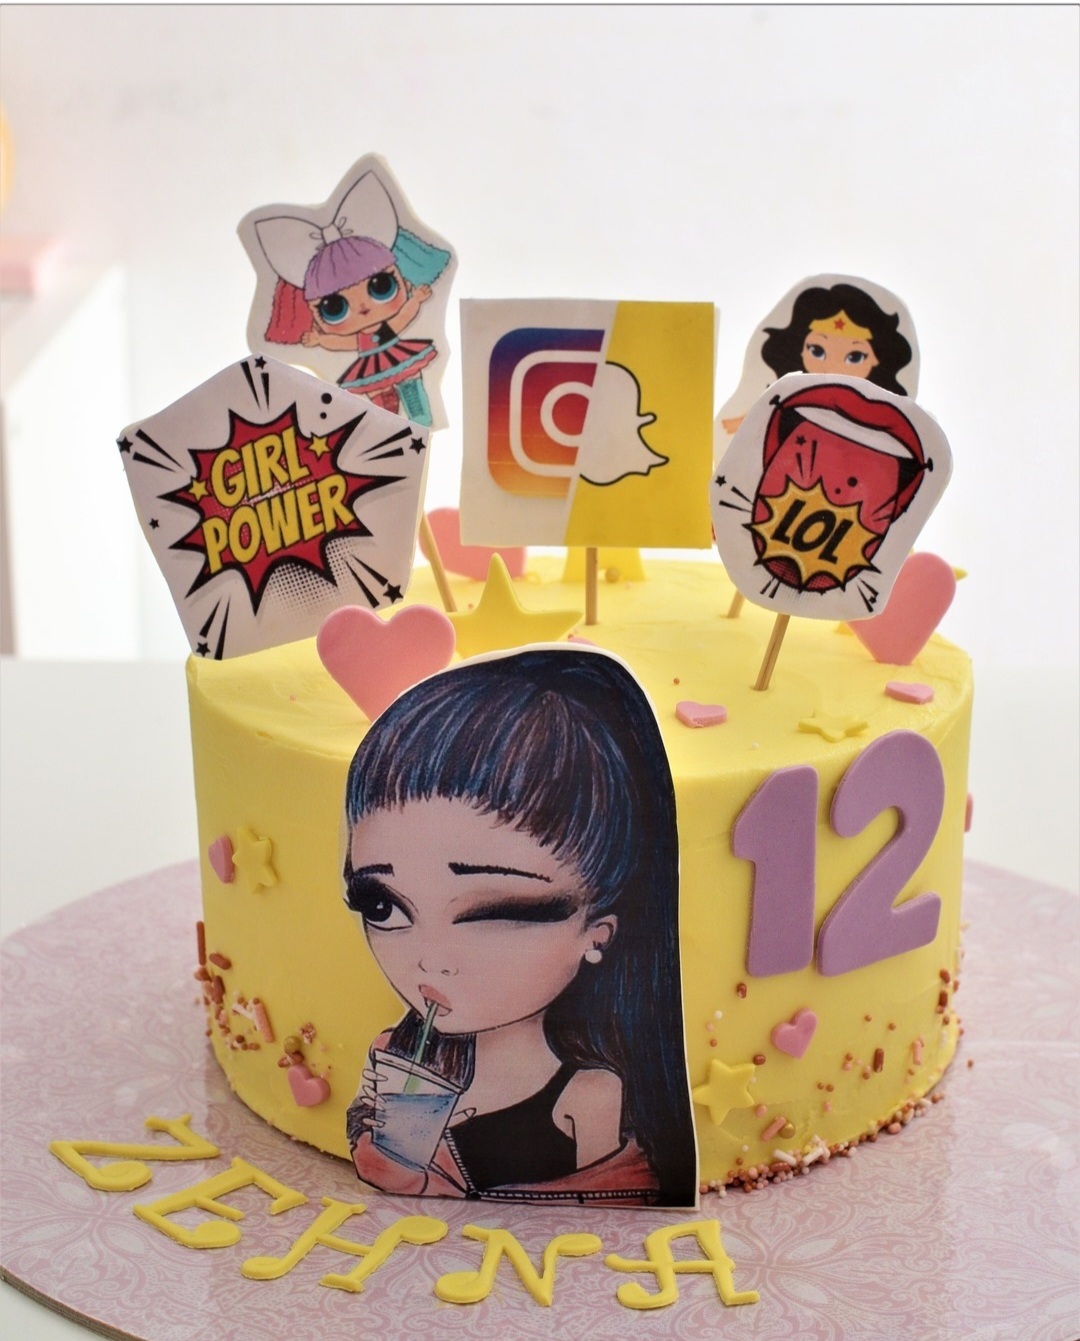
Putting a picture on a cake is a fun idea. It makes the cake special. In this guide, we will show you how to do it. Follow these simple steps to put a picture on your cake.
Materials You Will Need
First, you need some materials. Here is a list of what you need:
- A picture you want to use
- Frosting sheets or edible paper
- Edible ink
- An edible ink printer
- A frosted cake
Step-by-Step Instructions
Step 1: Choose Your Picture
Choose a picture that you like. It can be a photo of a person, animal, or anything else. Make sure the picture is clear and of good quality. If the picture is blurry, it will not look good on the cake.
Step 2: Print The Picture
Next, print the picture on the frosting sheet or edible paper. Use edible ink and an edible ink printer. Regular ink and paper are not safe to eat. Make sure the picture fits the size of your cake.
Step 3: Prepare Your Cake
Your cake should be frosted before you put the picture on it. Use smooth frosting like buttercream or fondant. The surface should be flat and even. This will help the picture stick to the cake.
Step 4: Place The Picture On The Cake
Now, gently place the printed picture on the cake. Be careful not to tear the frosting sheet. Start from one side and slowly lay it down. Smooth out any air bubbles with your fingers.
Step 5: Finishing Touches
Once the picture is on the cake, you can add some finishing touches. Use frosting to decorate the edges of the picture. This will make it look neat and pretty. You can also add other decorations like sprinkles or edible glitter.
Tips for Success
Here are some tips to help you put a picture on a cake:
- Keep your hands clean and dry when handling the frosting sheet.
- Do not use too much frosting on the cake. A thick layer can make the picture slide off.
- Store the cake in a cool place. Heat can make the picture fade.
Common Questions
Can I Use A Regular Printer?
No, you cannot use a regular printer. You need an edible ink printer and edible ink. Regular ink is not safe to eat.
Where Can I Buy Edible Ink And Frosting Sheets?
You can buy edible ink and frosting sheets online or at cake supply stores. Make sure they are food-grade and safe to eat.
How Long Does The Picture Last On The Cake?
The picture will last as long as the cake stays fresh. If you keep the cake in a cool place, the picture will stay nice for several days.
Can I Put The Picture On Any Type Of Cake?
Yes, you can put the picture on any type of cake. Just make sure the frosting is smooth and even. This will help the picture stick well.

Credit: www.wonderopolis.org

Credit: bakefresh.net
Frequently Asked Questions
How Can I Print A Photo On A Cake?
Use edible paper and edible ink to print your photo. Place the printed photo on the cake.
What Kind Of Paper Is Used For Cake Pictures?
Edible paper, also known as icing sheets or frosting sheets, is used. It's safe to eat.
Is It Safe To Eat Printed Cake Images?
Yes, it is safe. Edible ink and paper are made from food-grade ingredients.
How Long Does An Edible Image Last On A Cake?
An edible image lasts about 2-3 days on a cake. Keep it away from moisture.
Conclusion
Now you know how to put a picture on a cake. It is easy and fun. Follow the steps and tips in this guide. Your cake will look amazing with a picture on it. Enjoy your special cake!
Comments