
How to Make Astronaut Ice Cream: Step-by-Step Guide

How to Make Astronaut Ice Cream

Do you love space and science? Do you enjoy ice cream? If yes, then astronaut ice cream is perfect for you. Astronaut ice cream is fun and tasty. It is also known as freeze-dried ice cream. Let's learn how to make astronaut ice cream at home.

What is Astronaut Ice Cream?

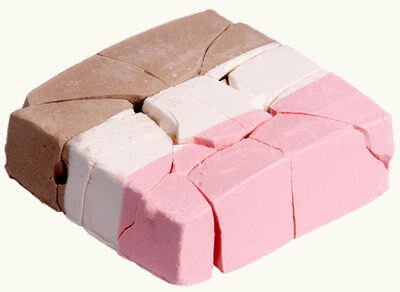
Astronaut ice cream is a special treat. It is ice cream that has no water. It is made by removing all the water from regular ice cream. This process is called freeze-drying. Astronauts eat it in space because it is easy to store and does not melt.

Things You Need

To make astronaut ice cream, you need these items:

  • Regular ice cream (any flavor you like)
  • A freezer
  • A baking sheet
  • Wax paper
  • A knife
  • A freeze-dryer or dry ice
  • Plastic bags

Steps to Make Astronaut Ice Cream

Follow these steps to make astronaut ice cream:

1. Prepare The Ice Cream

First, take your regular ice cream. Let it soften a bit. It should be easy to cut. Do not let it melt completely.

2. Cut The Ice Cream

Next, use a knife to cut the ice cream into small pieces. You can make cubes or any shape you like.

3. Freeze The Ice Cream

Place a sheet of wax paper on a baking sheet. Put the ice cream pieces on the wax paper. Make sure the pieces do not touch each other. Put the baking sheet in the freezer. Let the ice cream freeze solid. This may take a few hours.

4. Prepare The Freeze-dryer

If you have a freeze-dryer, follow the instructions to set it up. If you do not have a freeze-dryer, you can use dry ice. Be careful with dry ice. It is very cold and can burn your skin. Always wear gloves when handling dry ice.

5. Freeze-dry The Ice Cream

Now, place the frozen ice cream pieces in the freeze-dryer. If using dry ice, put the ice cream in a plastic bag. Seal the bag well. Place the bag in a cooler with dry ice. Do not let the ice cream touch the dry ice directly.

6. Wait For The Freeze-drying Process

The freeze-drying process can take some time. It may take 24 hours or more. Be patient. The ice cream will be ready when it is completely dry and crispy.

7. Store The Astronaut Ice Cream

Once the ice cream is freeze-dried, store it in plastic bags. Make sure the bags are sealed well. Keep the bags in a cool, dry place.

How to Make Astronaut Ice Cream: Step-by-Step Guide

Credit: www.homemade-dessert-recipes.com

Why Make Astronaut Ice Cream?

Making astronaut ice cream is fun and educational. It is a great project for kids. They can learn about science and space. Plus, the ice cream is delicious and crunchy.


Tips for Success

Here are some tips to help you make the best astronaut ice cream:

  • Use good quality ice cream for the best taste.
  • Make sure the ice cream is frozen solid before freeze-drying.
  • Seal the plastic bags well to keep the ice cream fresh.
How to Make Astronaut Ice Cream: Step-by-Step Guide

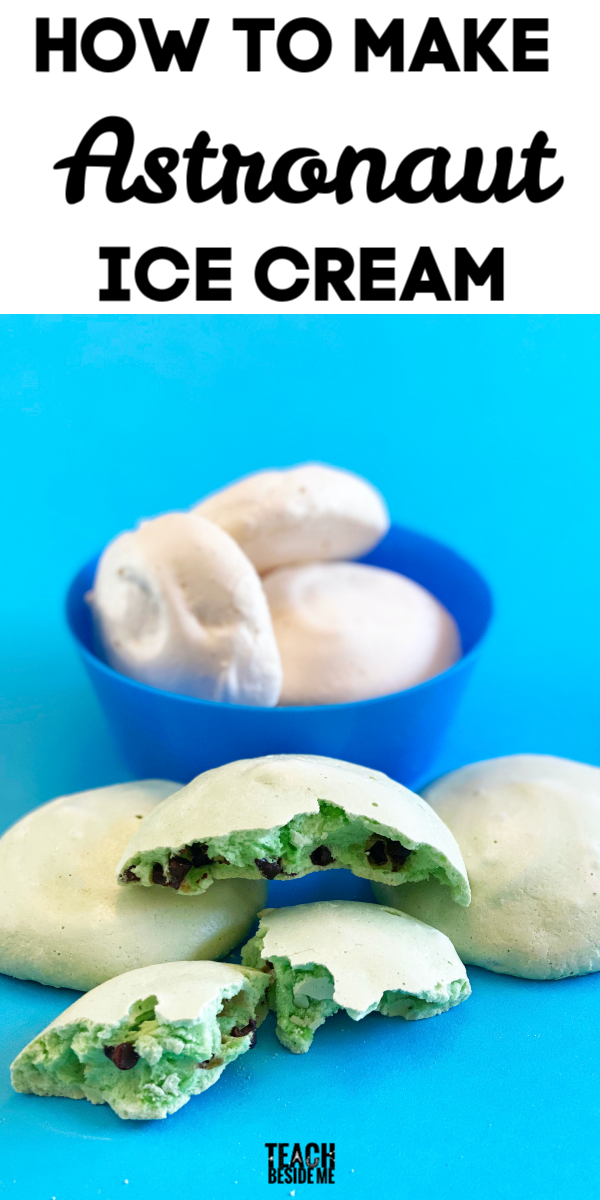
Credit: teachbesideme.com

Conclusion

Now you know how to make astronaut ice cream. It is a simple and fun process. You can enjoy a taste of space at home. Try different flavors and shapes. Share your astronaut ice cream with friends and family. They will love it too.

So, what are you waiting for? Start making your own astronaut ice cream today. Enjoy your crunchy and tasty treat!

Comments

Popular posts from this blog

Easy Chicken Pot Pie Recipe: Simple and Delicious Comfort Food

For an easy chicken pot pie recipe, combine cooked chicken, vegetables, and creamy sauce in a pie crust. Bake until golden brown. Chicken pot pie is a comforting classic that’s perfect for any meal. This recipe simplifies the process, making it accessible for even novice cooks. Fresh vegetables and tender chicken come together in a creamy sauce, all encased in a flaky pie crust. You can use store-bought pie crusts to save time or make your own for a homemade touch. This dish is versatile and can be customized with your favorite vegetables. Ideal for busy weeknights or a cozy weekend dinner, this chicken pot pie is sure to become a family favorite. Its simplicity and deliciousness make it a go-to recipe. Ingredients Creating a delicious and comforting Chicken Pot Pie is easy. All you need are a few simple ingredients. This...

How to Bake a Cake in Ninja Dual Air Fryer: Quick & Easy Guide

How to Bake a Cake in Ninja Dual Air Fryer Baking a cake is fun and easy. Using a Ninja Dual Air Fryer makes it even simpler. In this guide, you will learn how to bake a delicious cake. Follow these steps and enjoy your homemade cake. Ingredients You Will Need 1 cup of flour 1/2 cup of sugar 1/4 cup of butter 2 eggs 1/2 cup of milk 1 teaspoon of baking powder 1 teaspoon of vanilla extract A pinch of salt Tools You Will Need Ninja Dual Air Fryer Mixing bowl Whisk or electric mixer Cake pan that fits in the air fryer Measuring cups and spoons Credit: kitchenmason.com Step-by-Step Instructions Step 1: Prepare Your Ingredients First, gather all your ingredients. Make sure you have everything you need. Measure out each ingredient. This helps you bake the cake smoothly. Step 2: Mix The Dry Ingredients Take the...

How to Make Chips Ahoy Cookies: Ultimate Guide to Perfection

How to Make Chips Ahoy Cookies Do you love Chips Ahoy cookies? You can make them at home! It's simple and fun. Ingredients First, gather your ingredients. You will need: 2 1/4 cups all-purpose flour 1/2 teaspoon baking soda 1 cup unsalted butter, room temperature 1/2 cup granulated sugar 1 cup packed light-brown sugar 1 teaspoon salt 2 teaspoons pure vanilla extract 2 large eggs 2 cups semisweet and/or milk chocolate chips Instructions Follow these steps to make your cookies: Preheat your oven to 350 degrees Fahrenheit (175 degrees Celsius). Mix dry ingredients : In a bowl, combine flour and baking soda. Set aside. Beat butter and sugars : In another bowl, beat butter and both sugars until fluffy. Add eggs and vanilla : Add eggs, one at a time, beating well after each addition. Mix in vanilla. Combine dry and wet ingredients : Gradually add the flour mixture to the wet ingredients. Beat until combined. Stir in chocolate chips : Fold in the chocolate ...